Renovations are a necessary evil. When preparing for renovations, a homeowner’s focus is often on the labor cost and the materials needed, plus hiring a good contractor.
Although these aspects are crucial and form the basis of your renovations, you should also make plans for proper clean-up after the construction work. This is because brick or drywall dust can destroy your house if not properly cleaned, and some construction waste can be harmful to your health.
It’s critical to prepare the site for renovation and arrange adequate protection to minimize clean-up work. Yet before beginning the clean-up, it’s crucial to decide if you should do the clean-up yourself or hire professionals. Although cleaning after construction is similar to regular cleaning, the vacuuming, polishing, and dusting work is more intense and would need special tools like bucket vacuums, wet/dry vacuums, and commercial floor polishers.
If you choose to do the clean-up yourself, this post will provide tips to make your renovation cleaning worth your time and effort by minimizing mistakes, increasing efficiency, and saving money.
Contents
1. Do a Final Check With The Contractor
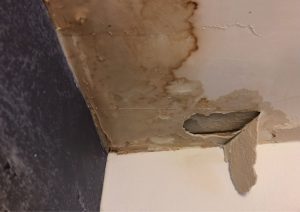
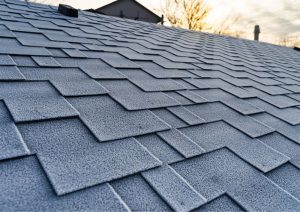
Before you start cleaning, it’s essential to do a final checkup for any underlying issues or repairs before your contractor leaves. Ensure minor problems are fixed before you begin cleaning to avoid accidents. Besides, check for water leaks, wall cracks, roof problems, ventilation issues, or others needing your attention.
2. Get Enough Ventilation
Before cleaning, open your windows for air circulation. After renovation, dust from sanding and fumes from chemicals build up in the air. Ensure your openings get rid of smells and harmful particles from your home. Ventilation allows airflow through the house, thus removing dust and chemical particles.
Enough ventilation also reduces temperature. This helps after renovation because construction waste is all over, making the place hot and stuffy. Fortunately, proper ventilation lowers the temperature, creating a more relaxed working environment.
3. Clear the Clutter
After renovation, there are always heaps of leftover construction and remodeling debris lying around. Remodeling leftovers include broken tools, countertops, concrete, piles of scrap wood, and other assorted waste. Collect and dispose of the waste materials accordingly.
Many people opt to rent dumpsters to collect the clutter, but this can be tricky and expensive. It also leaves a lot of work that you’ll have to do alone. The best and cheapest option is collecting and disposing of the clutter yourself. Clearing the waste gives you more space to work and put new decor items. You can also research different prices of skip hire for a better deal if you decide to hire skip bins to collect the clutter.
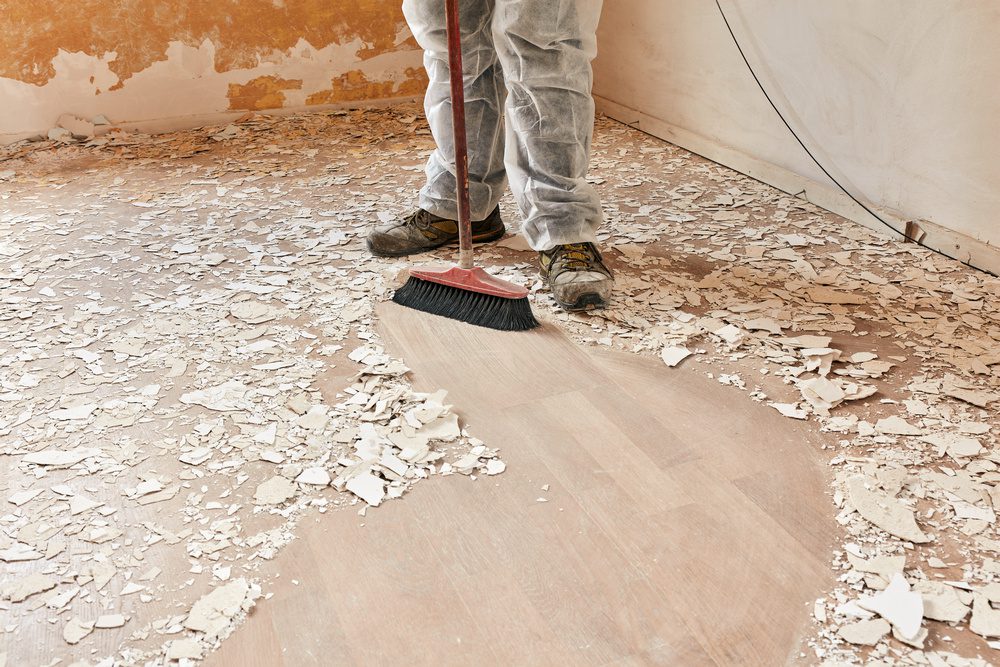
4. Sweep
After clearing the clutter, the next step is to sweep. Most people prefer dusting first, but it’s more effective to sweep and dust after. Although most people think dusting gets the dust on the floor before sweeping, the latter spread the dust into the air and furniture. To avoid dusting and sweeping repeatedly, sweep first to reduce extra dust clouds.
After sweeping, relax and let the dust settle before dusting again later on.
5. Clean the Dust
Dust is one of the biggest problems after renovation. It’s impossible to contain them even after taking precautions. Likewise, dust can be very harmful to your health and can cause damage if it gets into electronics.
After renovation, there will be different types of dust around, including fine dust, drywall and plaster dust, and brick and mortar dust. Each kind of dust requires a unique way of cleaning.
To clean fine dust, use a wet, damp microfiber cloth. It turns the dust into wet mud, thus becoming easy to wipe out. Wash the cloth after each wipe and change the water once dirty. You’ll have to repeat the process on every surface, including walls and floors.
Plaster or drywall dust is a challenge to clean. If you get this type of dust too wet, you risk staining or damaging the house’s surface. You can avoid this by making a cleaning solution of two cups of white vinegar added to a gallon of warm water. Use a sponge to rub the surface with a little water and immediately dry it with a towel. Repeat the process until all dirt is removed.
Brick dust, meanwhile, is heavier than other dust, so it’s tricky to clean. You may begin by sucking up some dirt using a powerful vacuum machine. Then dilute two cups of hydrogen peroxide in a gallon of water and use soft cotton rags to wipe surfaces. Avoid pressing too hard when wiping brick dust because it can leave marks on surfaces.
6. Vacuum Everything
After cleaning the dust on surfaces, excess dust sticks to curtains, carpets, and furniture, which can be a mess if left to accumulate. To get rid of excess dust on your valuables, vacuum everything from the corners of your house to the kitchen and bathroom. Run the vacuum cleaner slowly and repeatedly over the surfaces to ensure you collect all the dust in the house.
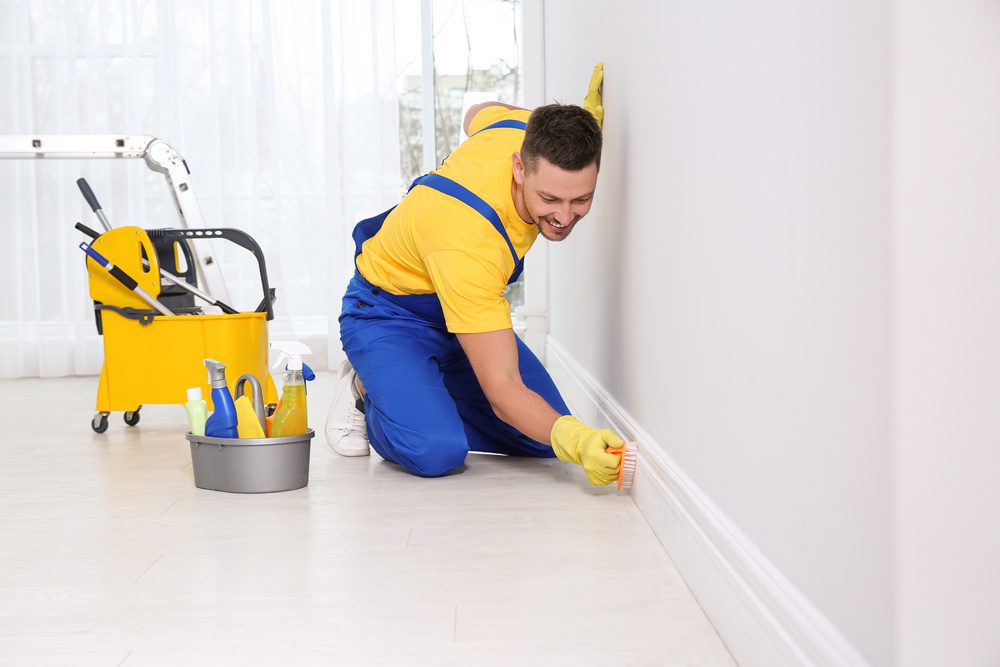
7. Wipe Everything Down
After vacuuming, wipe off the specks of dust and contaminants in all affected areas. Use a damp cloth for this activity. Moreover, wipe moldings as they also trap a lot of dust. Wipe all flat surfaces, shelves, kitchen cabinets, and furniture like tables and chairs. Next, mop the floor using disinfectant from wall to wall.
Lastly, deal with minor clean-up tasks like wiping windows, doors, wardrobes, decorations, lighting fixtures, and electronic appliances. Remember to unplug all electronics to prevent electric shocks and other incidences when wiping them.
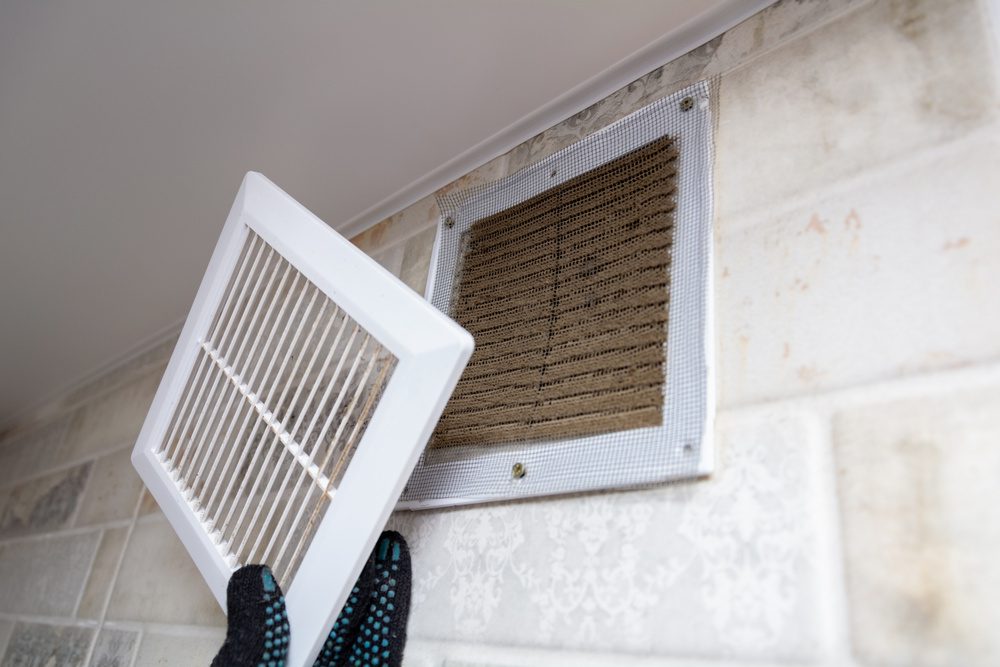
8. Clean Air Vents and Filters
Cleaning air vents and filters is a task often forgotten after renovation. These vents attract dust particles and chemicals that circulate in the house and might cause problems for those with respiratory conditions. Ensure you clean all air vents and filters to prevent dust from recirculating back into your room.
Final Thoughts
A house renovation may be an exciting endeavor but can test your patience because you have to do the cleaning up after. Although you want to enjoy the new changes in your house, it can be nearly impossible if your home is full of dust. Consider the tips mentioned here to ensure your home is clean and sparkling even after a significant renovation.