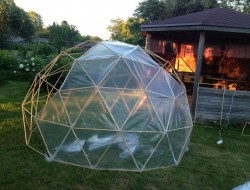
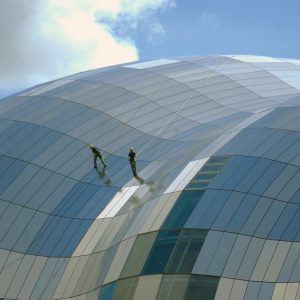
When most people think of a geodesic dome, they envision a large, domed structure like the one seen at the Biosphere 2 centre in Arizona. However, the term “geodesic dome” can actually refer to any dome-like structure whose surface is made up of a series of triangles.
These triangles can be either flat or curved, and the overall shape of the dome can vary as well. Geodesic domes are incredibly strong and stable, making them ideal for use in a variety of settings, from disaster relief shelters to sports stadiums. A geodesic greenhouse for example!

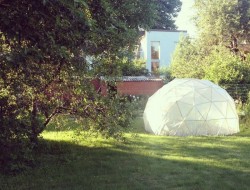
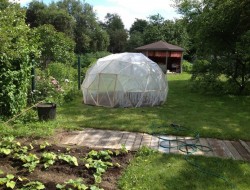
A geodesic dome greenhouse is an excellent way to grow plants and flowers while providing a unique and attractive addition to your property. They work well, look good, and are much easier to make than you might think. Here are a few things to keep in mind if you’re considering this greenhouse for your home.
First, they are extremely efficient at trapping heat, making them ideal for growing plants in colder climates. The dome shape also allows for maximum light exposure, which is essential for photosynthesis. Even in mild climates, a greenhouse can let you enjoy summer favourites in the middle of winter, while in cold climates, they can get your seedlings started long before the last frost.
How to build your own geodesic dome greenhouse?
Materials
- Wooden Laths – depends on the size of your structure
- Fence Wires
- Plastic Film Roll
- Bricks
- Varnish and Brush
- Hinges
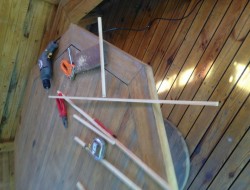
Tools
- Saw
- Drill and drill bits
- Pincer Pliers
- Marker
- Measuring Tape
- Cutting Knife / Scissors
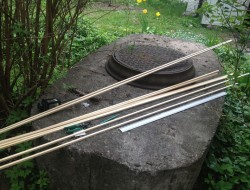
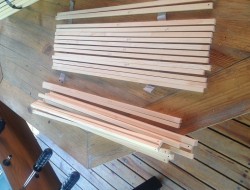
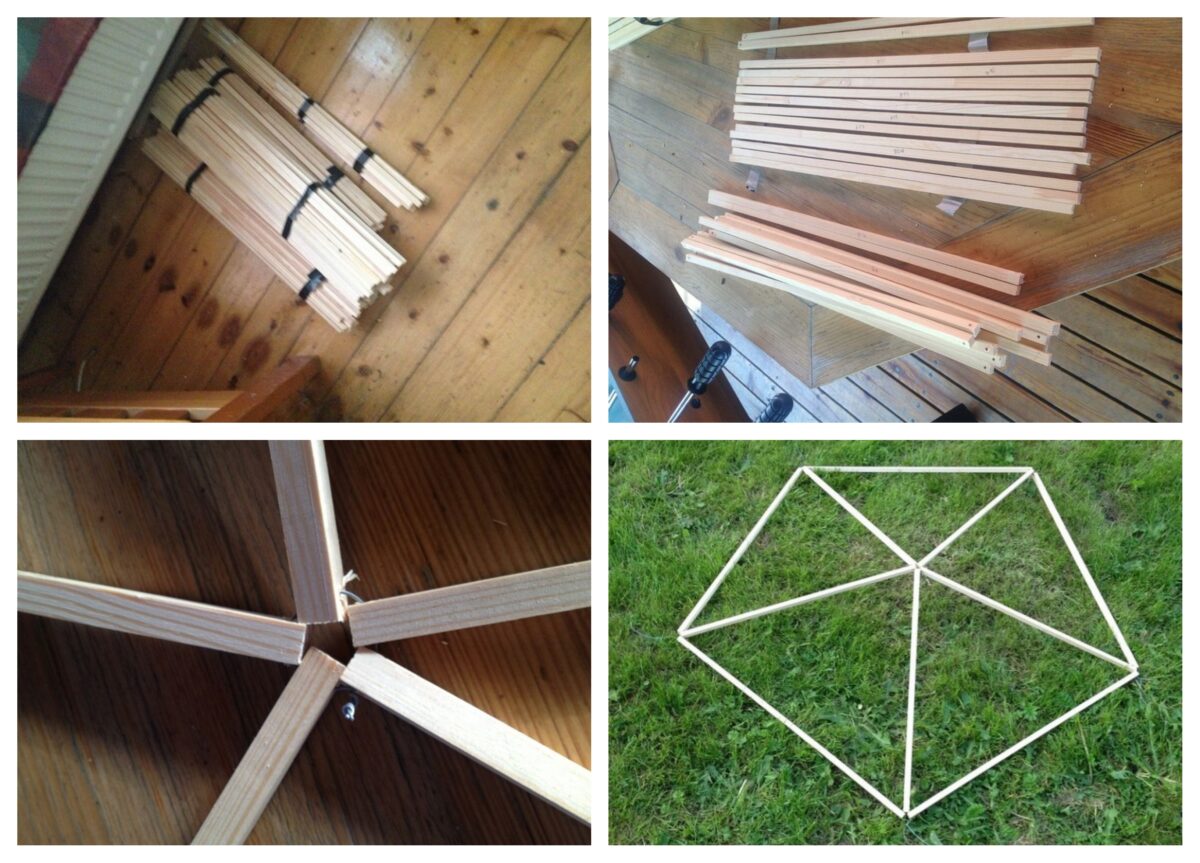
Cutting the wooden laths
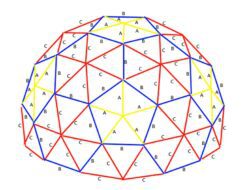
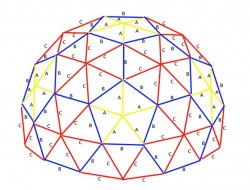
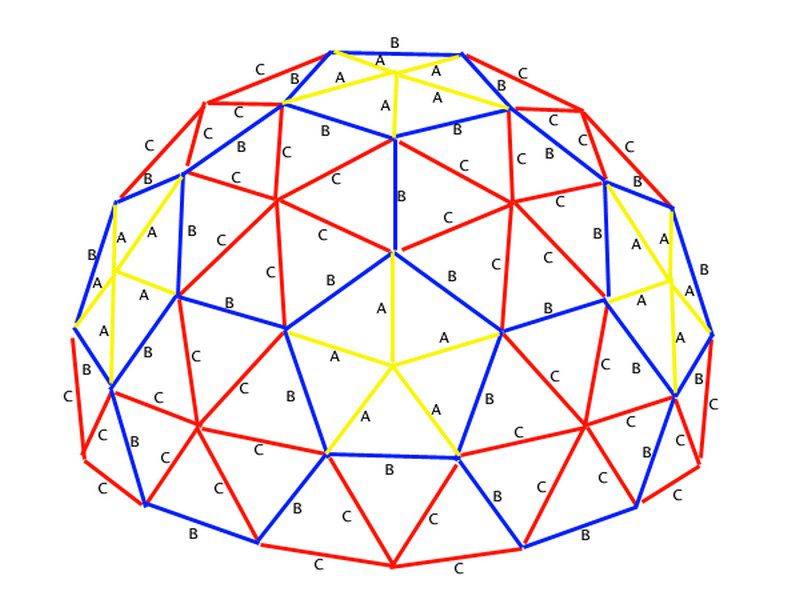
For the wooden laths, we will need 3 sizes based on the diagram we have below. Mark each part as A, B and C and group them together. For group A, the length should be 52 cm. For group B, the length is 60.5 cm. And for group C, it is 61.8 cm.
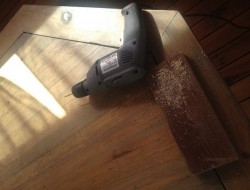
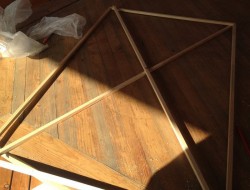
Connecting the wooden laths
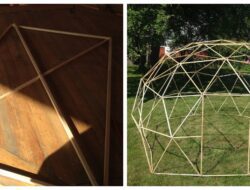
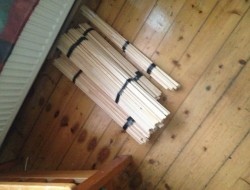
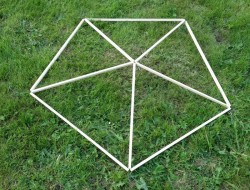
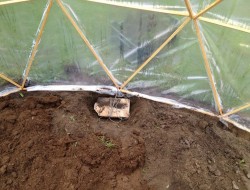
To connect the wooden laths together and form a pentagon, you will need to drill holes on both ends of the laths. Once the holes are drilled, you will then join together 5 laths by using a fence wire on one end.
This will create a pentagon shape when all the sticks are connected. Repeat the process until you get the number of pieces that you will be using for your geodesic dome greenhouse.
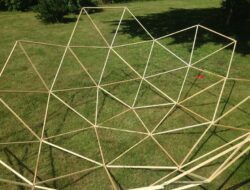
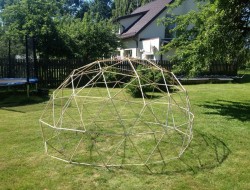
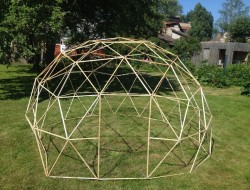
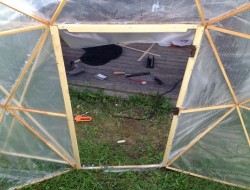
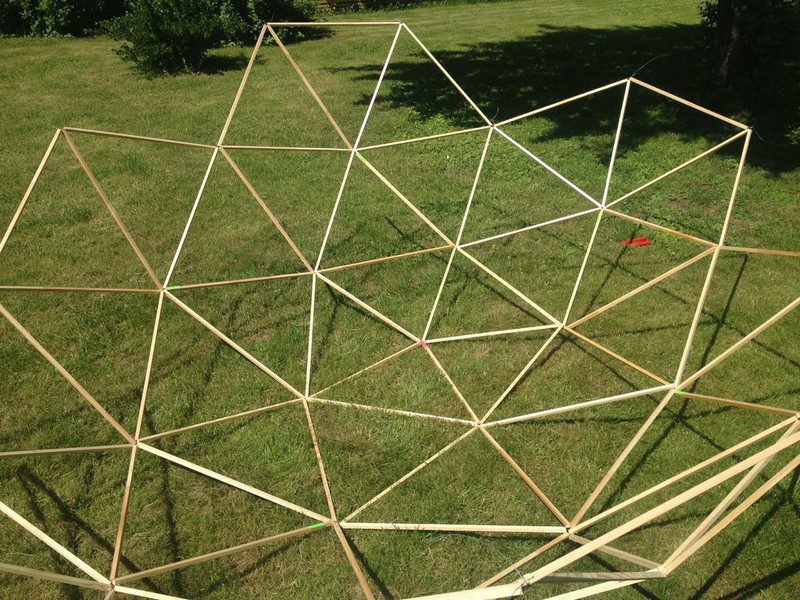
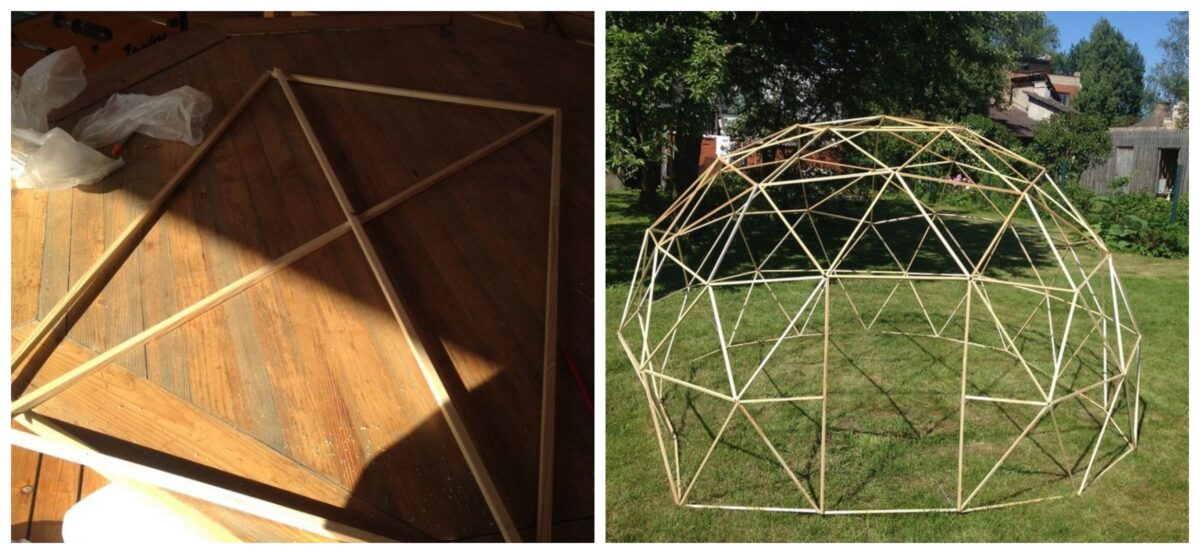
Assembling the dome
After creating the pentagons, you connect them together to form a dome. The process is relatively simple and only requires a few materials. Once you have your pentagons, you’ll need to connect them at the edges using a fence wire, leaving a space for your door. You can then add on any additional features, such as a window if you want.
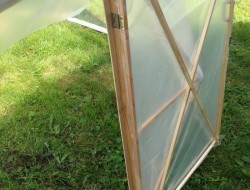
The Door
Building the doors of a geodesic dome can be tricky. The process requires careful measuring and cutting, as well as precise assembly. But with patience and attention to detail, you can create beautiful, functional doors for your dome.
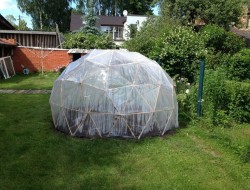
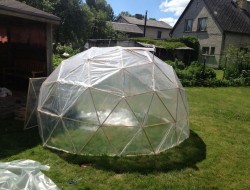
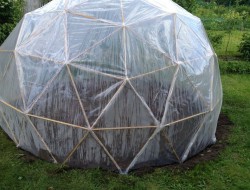
Completing the greenhouse
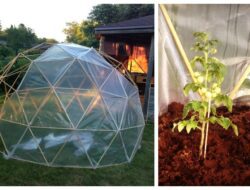
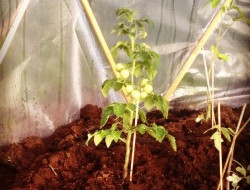
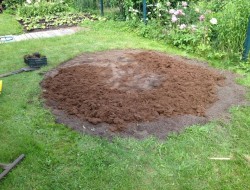
To complete your greenhouse, cover your geodesic dome with a plastic film roll. This will help to keep the temperature and humidity levels stable, as well as protect your plants from pests. Be sure to properly secure the film roll in place to ensure that your greenhouse is airtight.
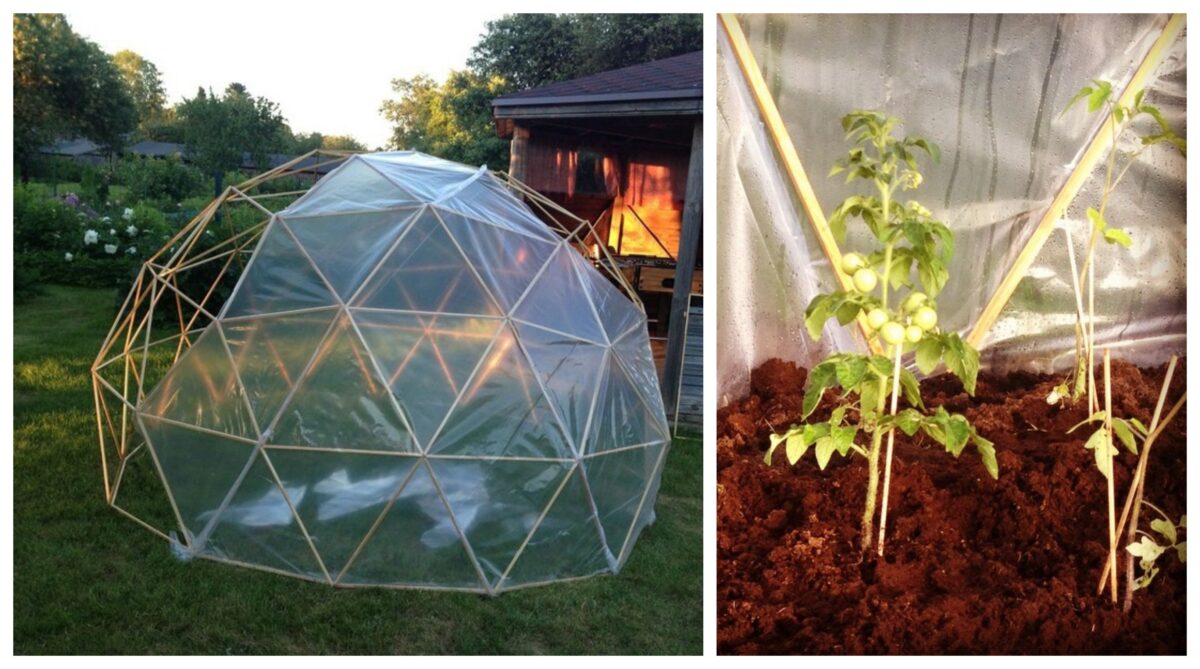
So what do you think of this geodesic greenhouse? Would you want one for your backyard?
Click on any image to start the lightbox display. Use your Esc key to close the lightbox. You can also view the images as a slideshow if you prefer 😎