When it comes to going on the road for an extended overland adventure, you can opt for add-on solutions like vehicle rooftop tents and portable kitchens or a full-blown, tricked-out RV. Somewhere in between is the camper trailer, which allows the family a small – but efficient – home on the go.

If you love the idea of your own camper trailer but don’t like the price tag, you can always build your own.
Not everyone enjoys camping in a tent. Some of us prefer to have the basic amenities a home offers. A camper trailer is perfect for this as it has everything you need in a home while you’re enjoying the great outdoors.
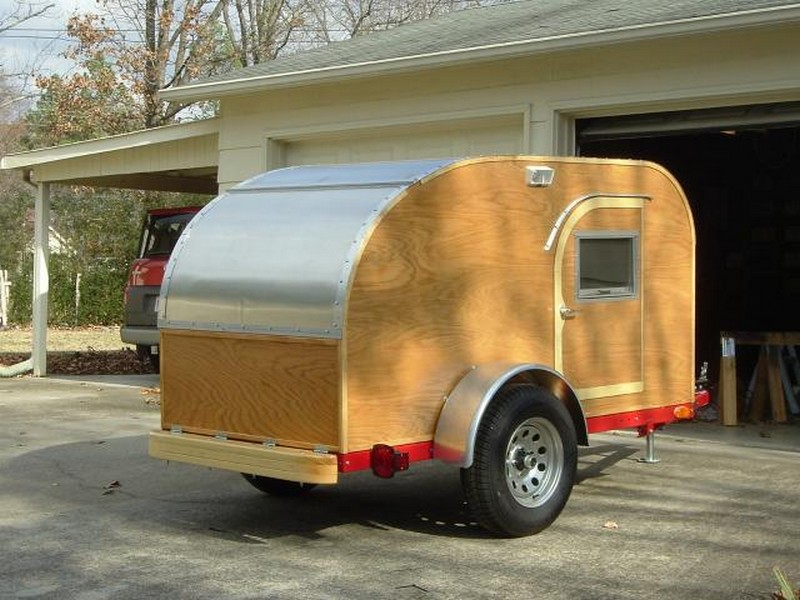
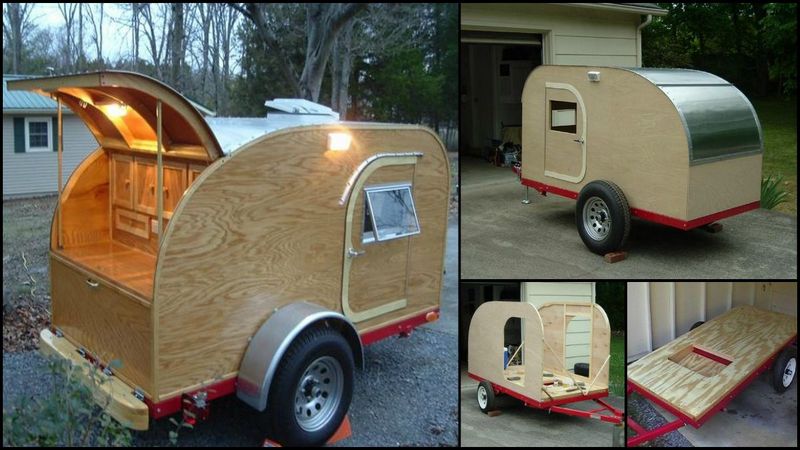
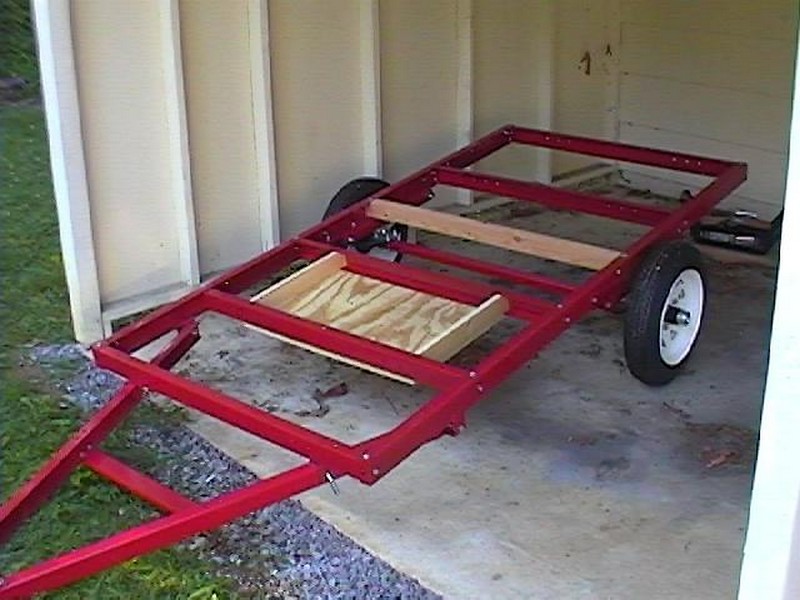
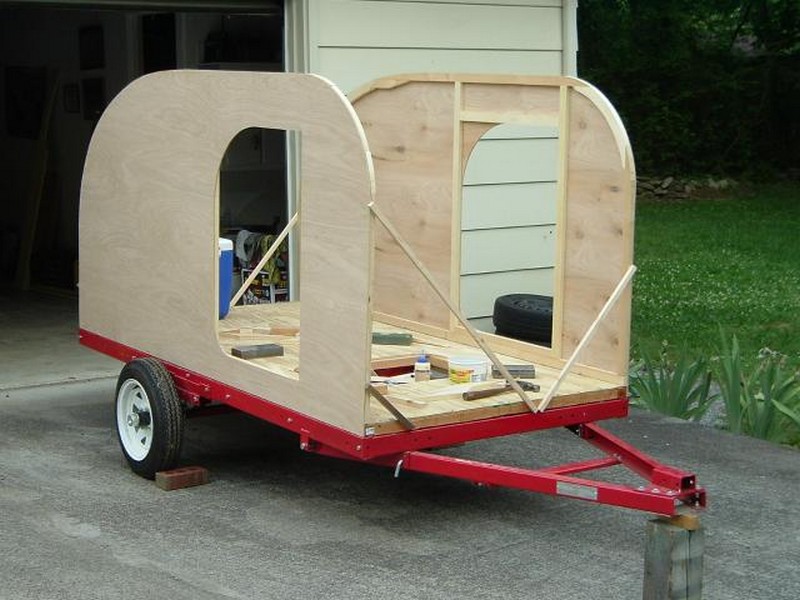
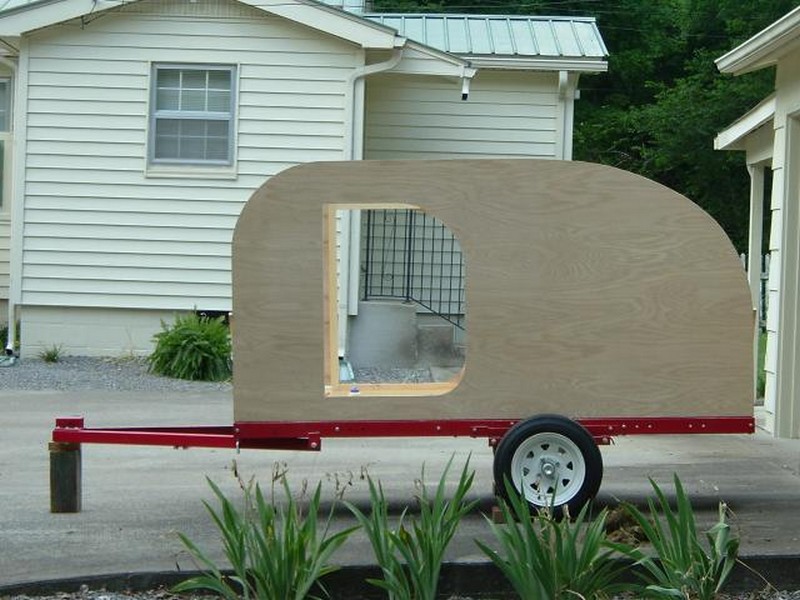
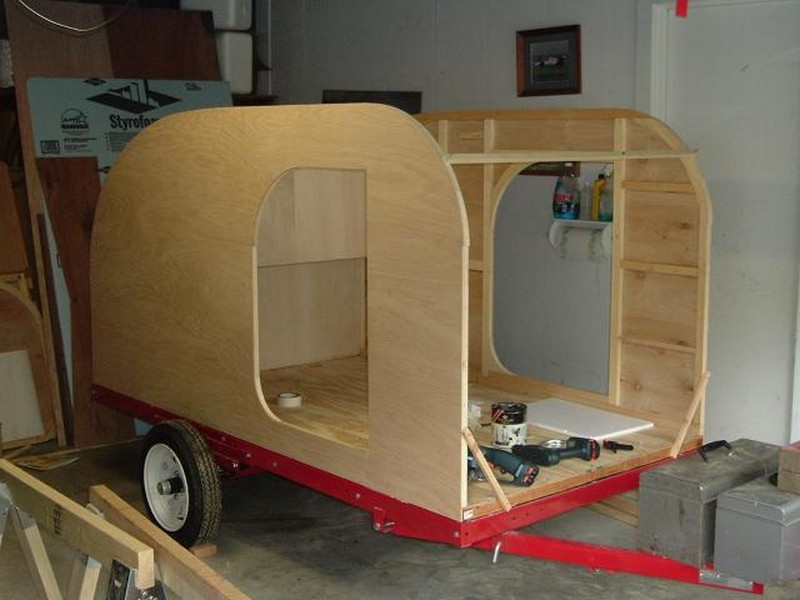
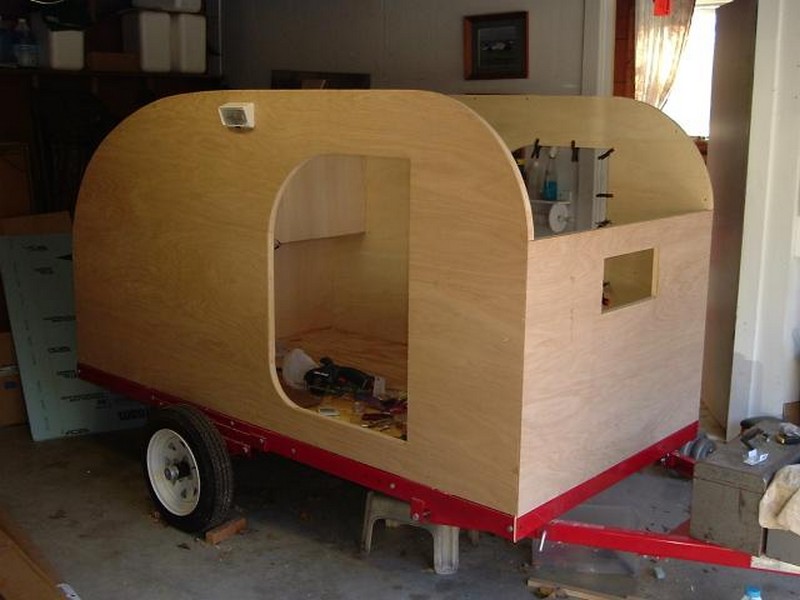
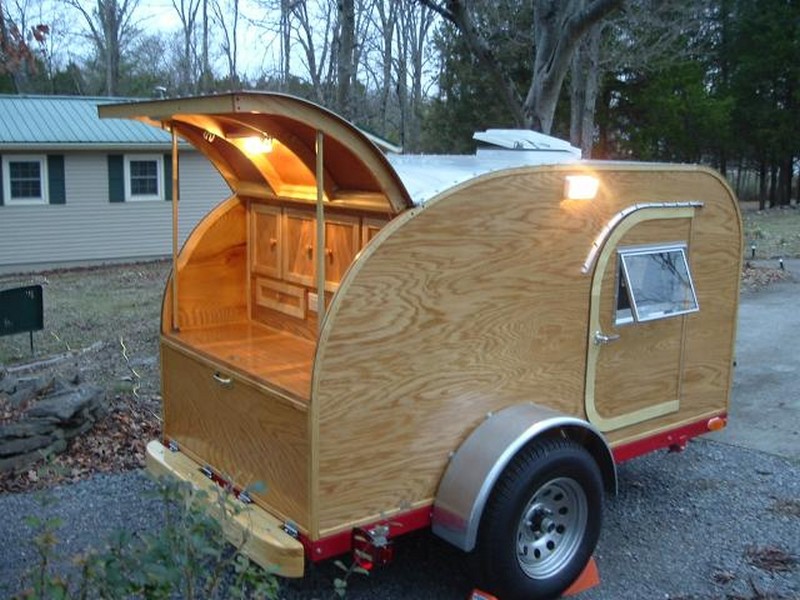
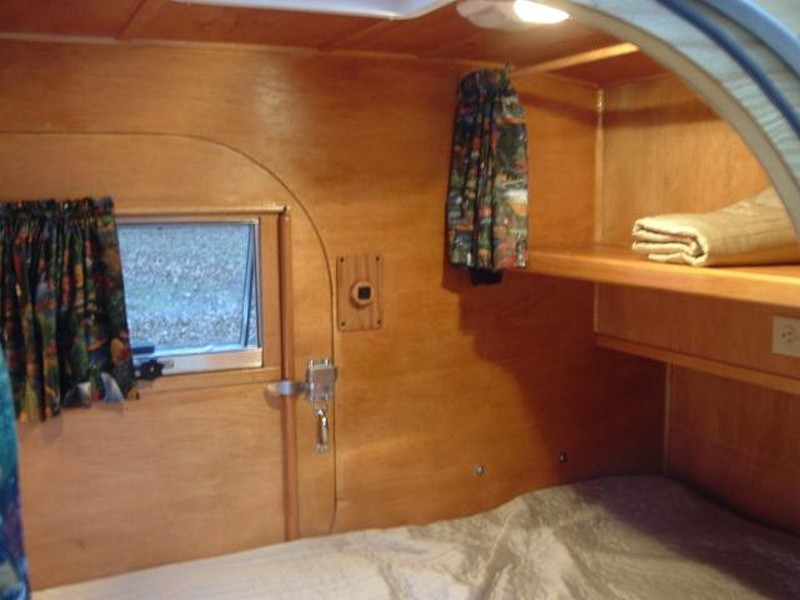
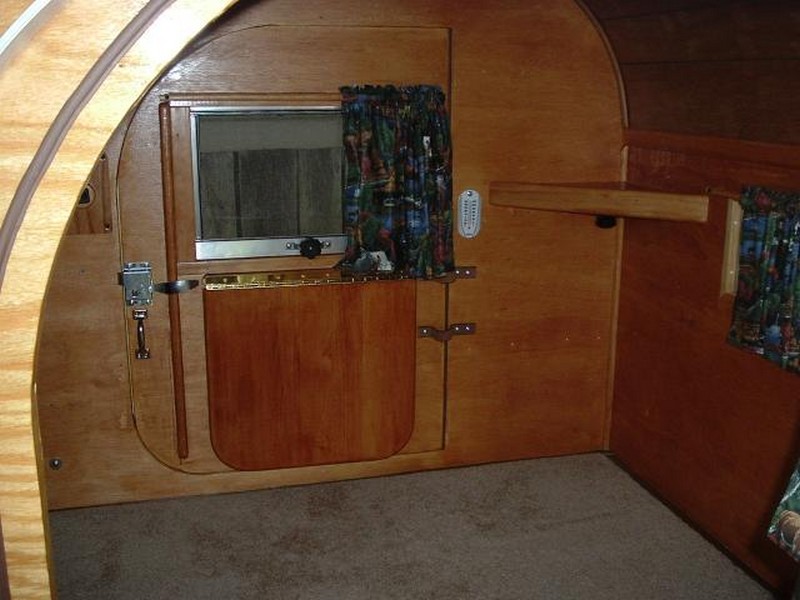
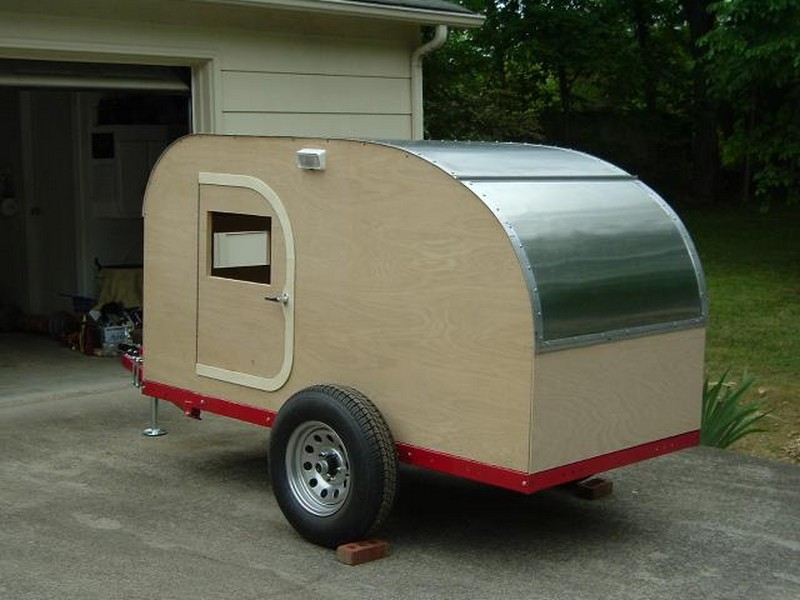
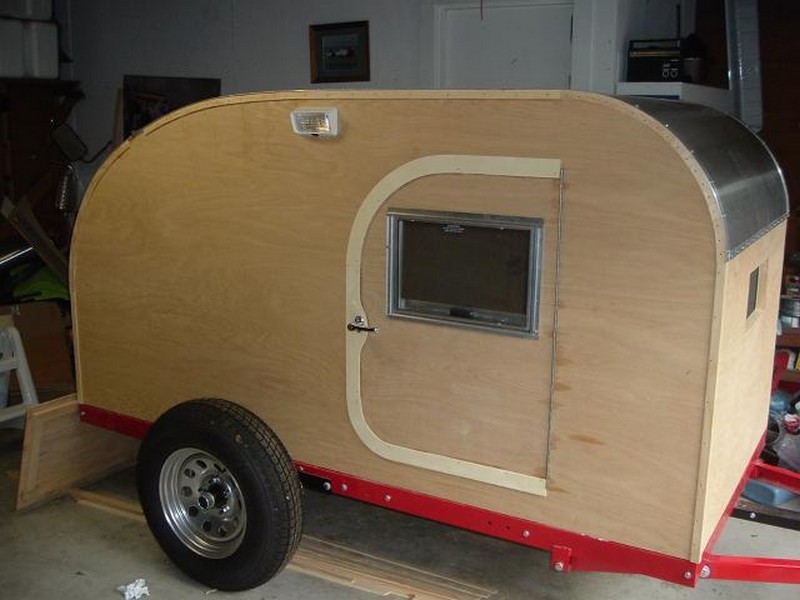
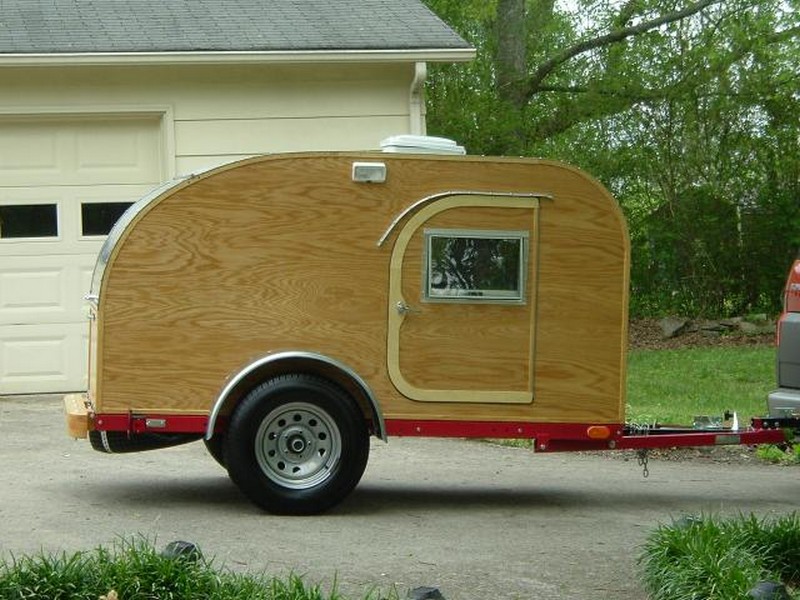
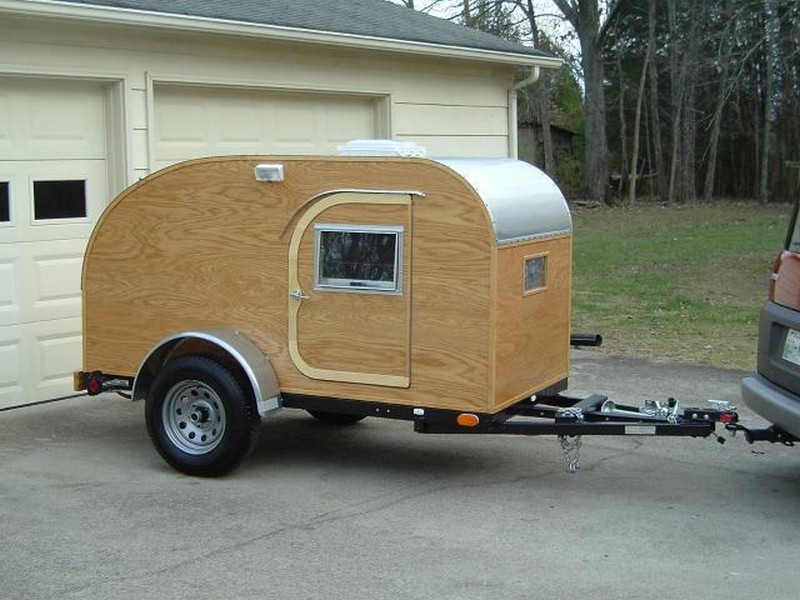
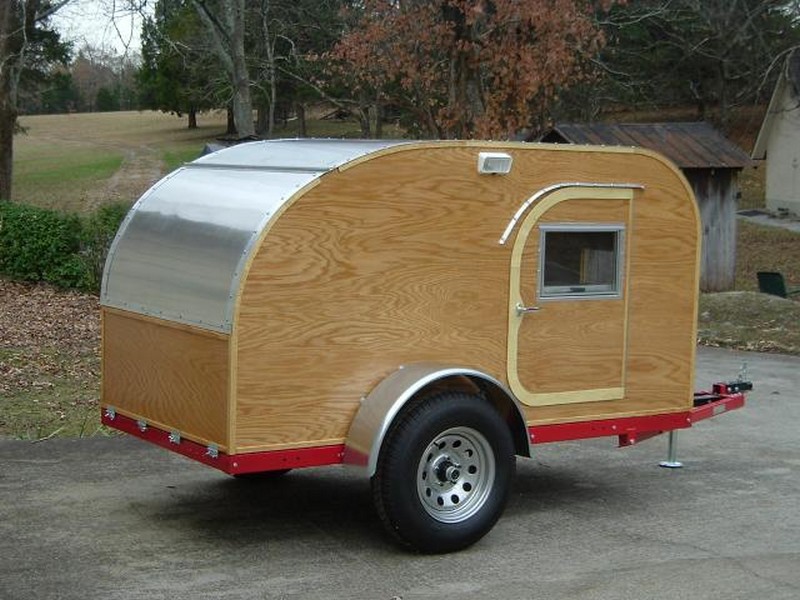
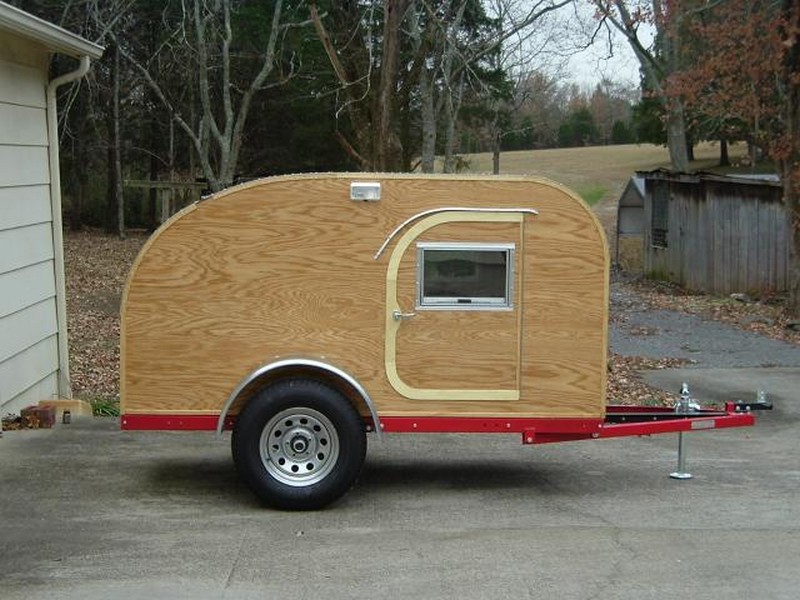
This teardrop trailer measuring 4×8′ can accommodate two people for sleeping. What’s nice about this is that it can be towed by just about any car because of its lightweight design.
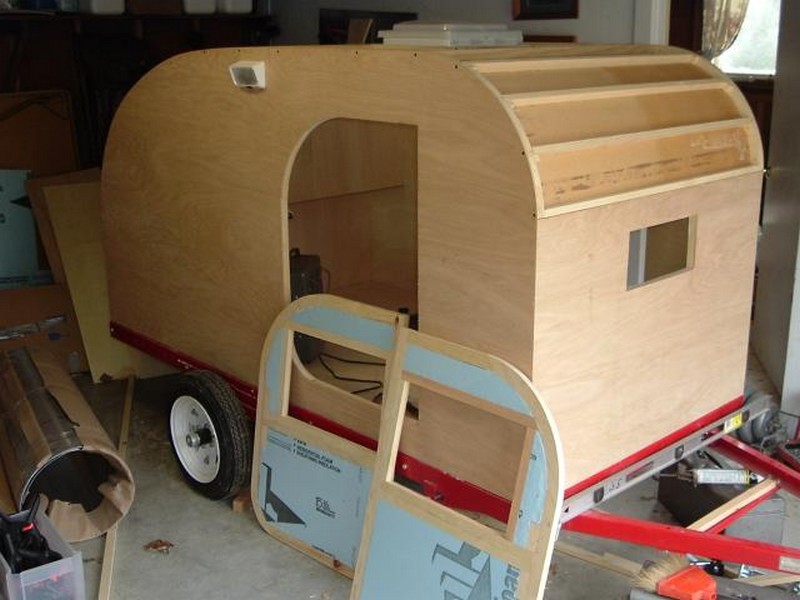
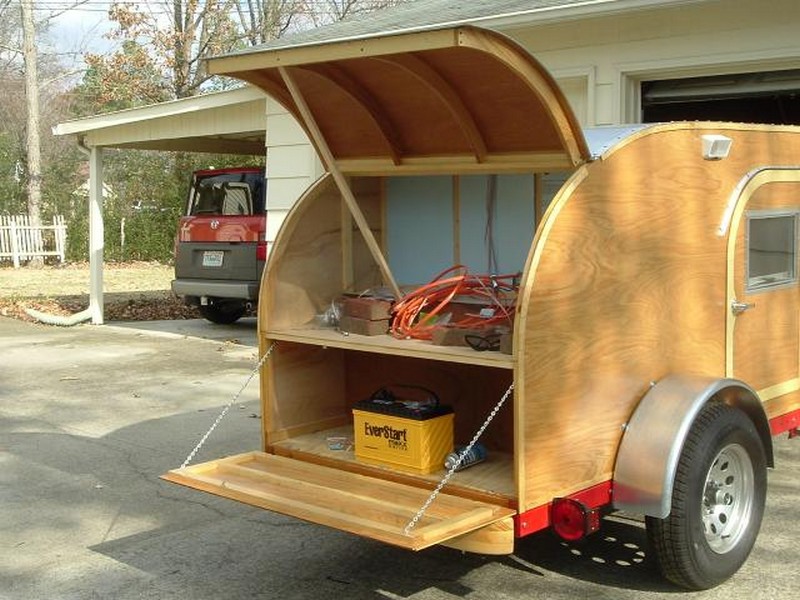
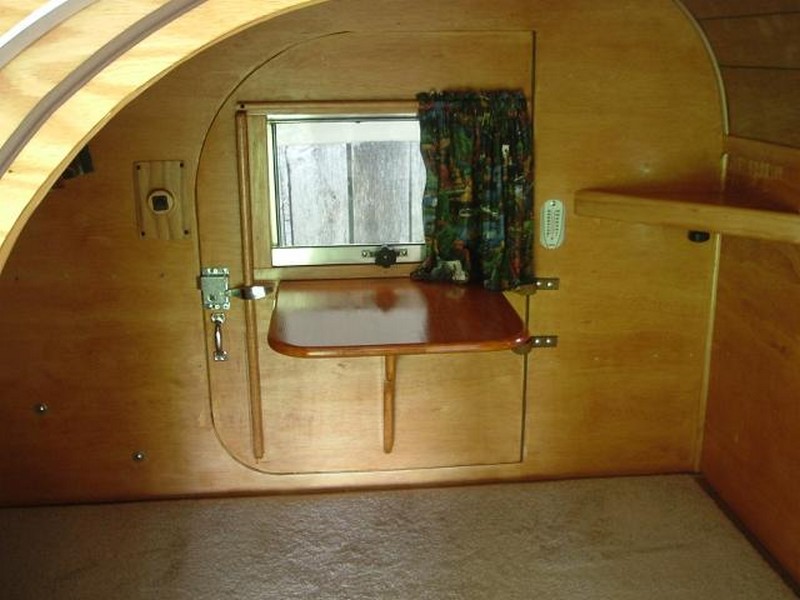
And it’s not just sleeping quarters as it has a galley at the back, too! It could also contain a small DVD player, refrigerator, etc. As always, the best part about making your own is that it can be custom-built for your special requirements.
Thinking of building one? Here are some of the basic materials that you will need…
Materials needed to build a teardrop trailer
Materials:
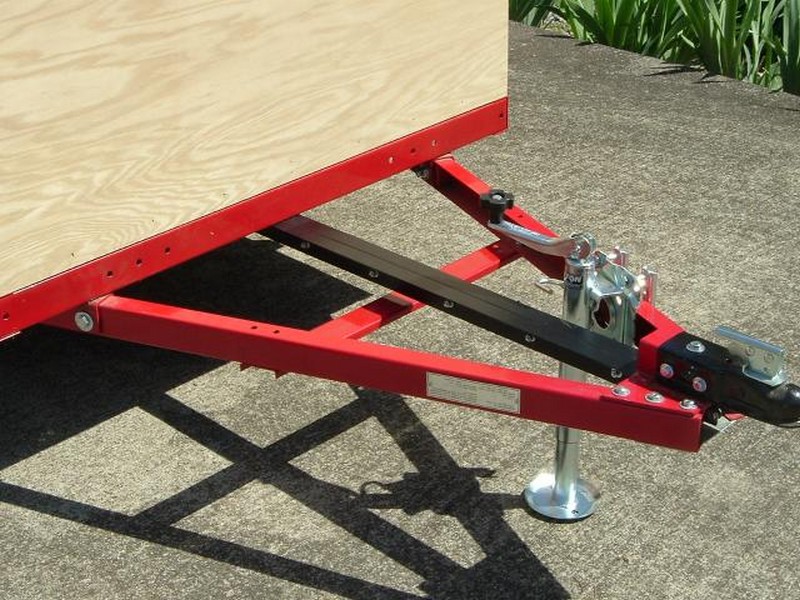
- Trailer Bed
- Aluminum Sheet
- ¼” Oak Plywood
- Torsion Axle
- 14” Wheels
- Bolts and Nuts
- Wood Varnish
- Lighting Fixtures
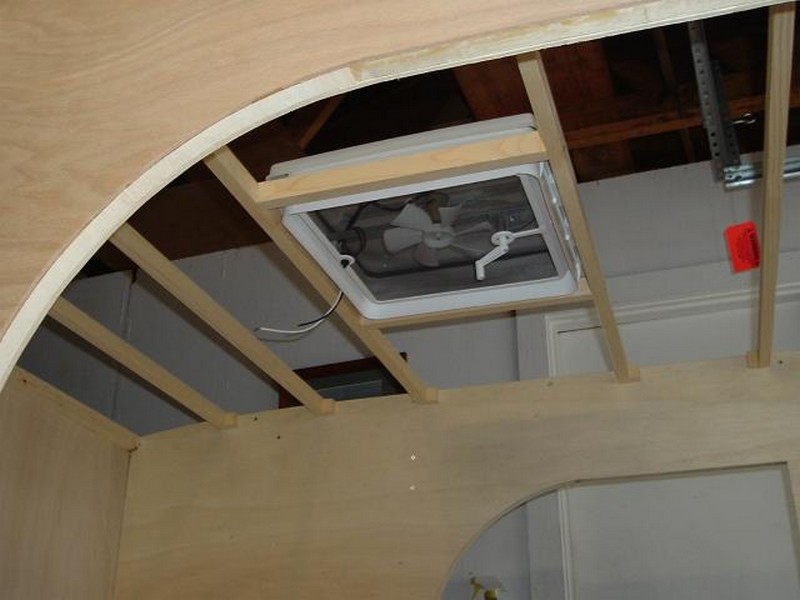
- Exhaust Fan
- Hinges and Door Knobs
- Outlet Covers and Wiring
- Clamps
- Screws
Tools:
- Caulking Gun
- Power Drill
- Pliers
- Hammer
- Table Saw
- Jig Saw
How to build a teardrop trailer
1. Measure and gather the materials
Determine the size of the teardrop trailer you need and gather all needed materials
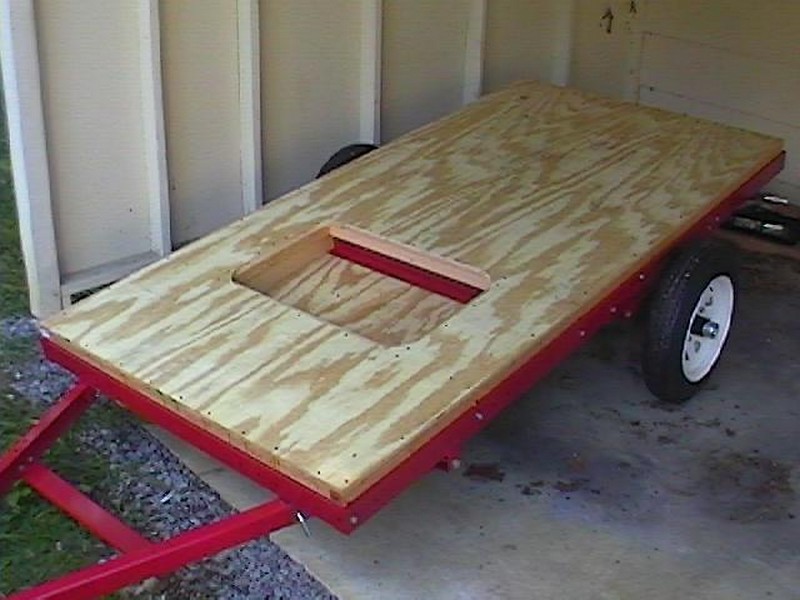
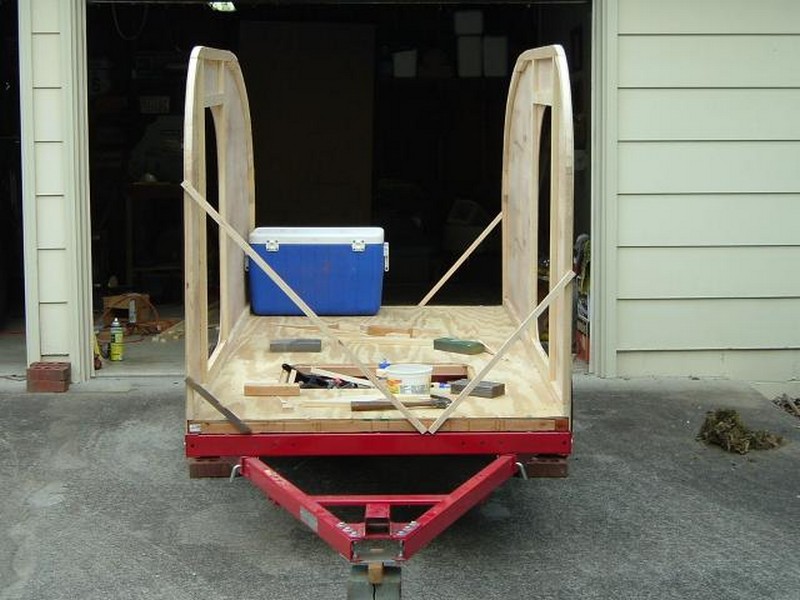
2. Install a decking foundation on your trailer
Before installing the deck to your trailer’s floor, measure the deck, drill holes, prep the base, set the frame, then insulate the floor.
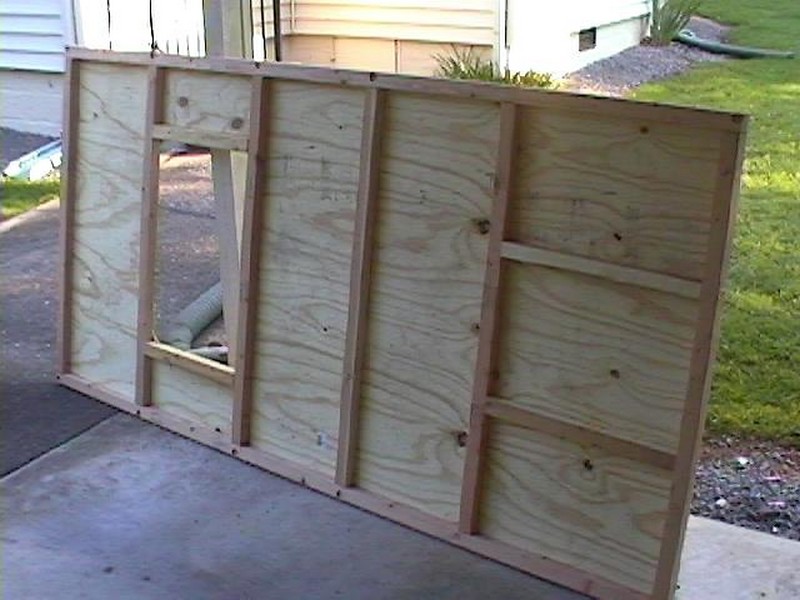
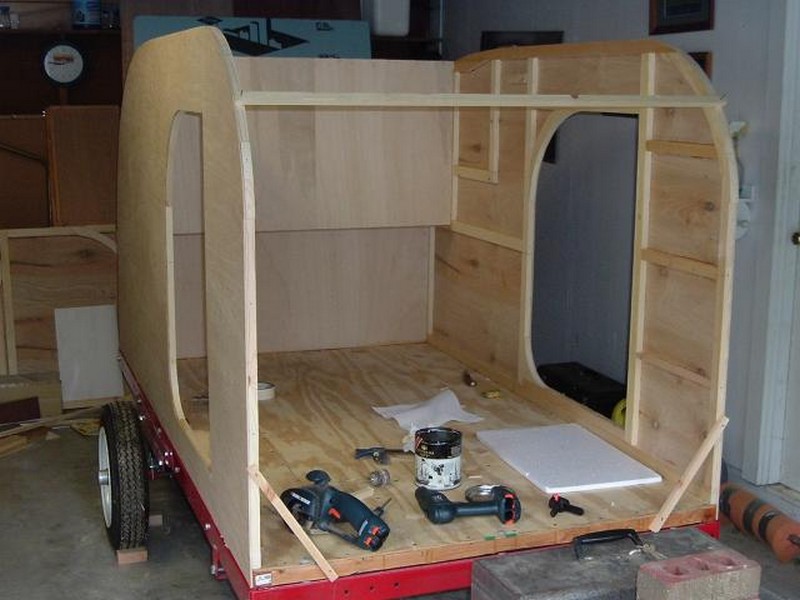
3. Create a design for your walls before construction
Make sure there is enough room for airflow.
4. Add frames to your walls
Start by cutting the inner wall, cut the side walls on the driver & passenger’s area, make some measurements on your trailer floor, and mark them so we can anchor the outer walls.
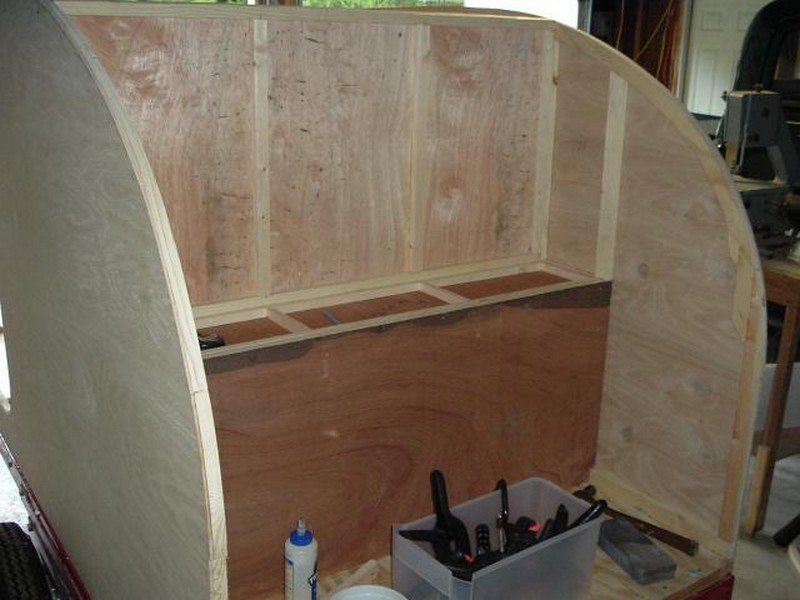
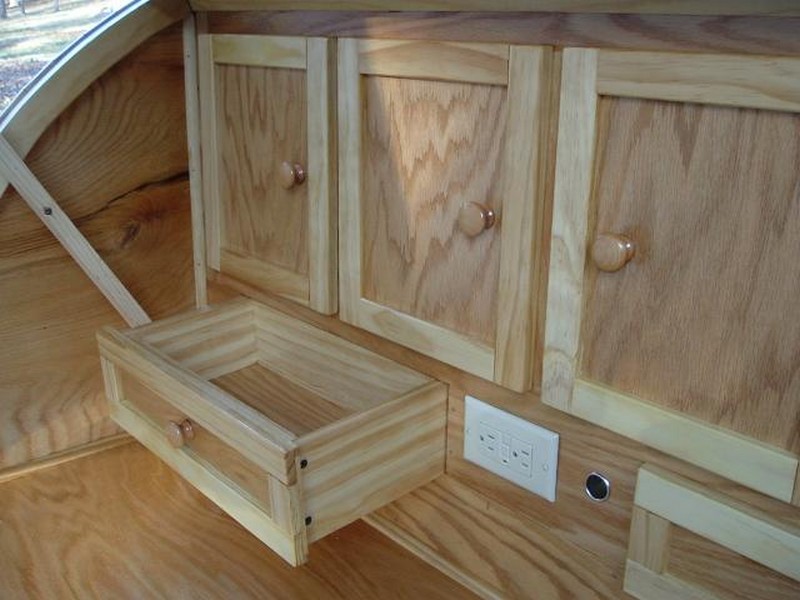
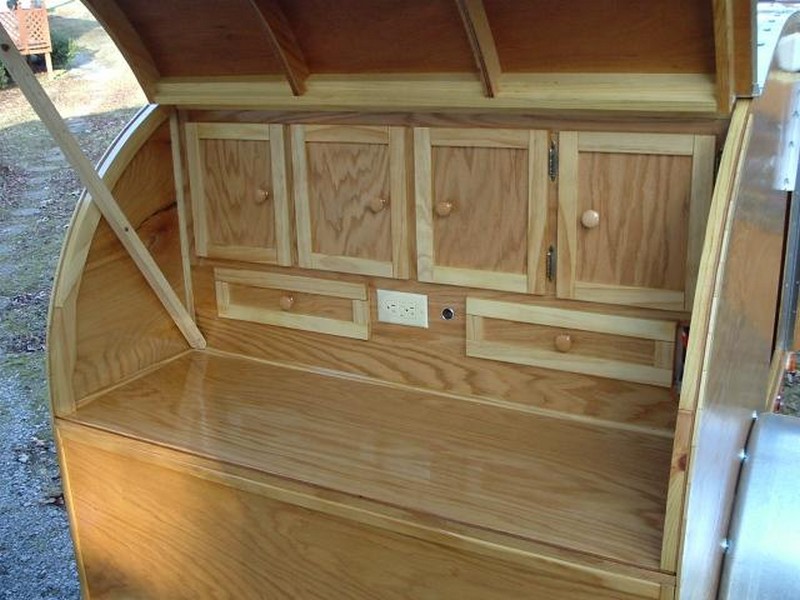
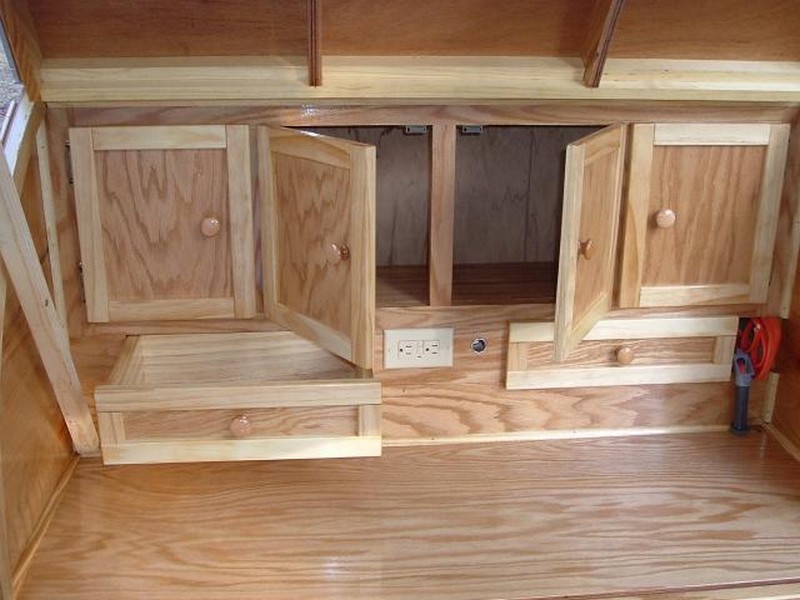
5. Construct your hatch area
Build, and install the shelf, sink, stovetop, and countertop.
6. Create your hatch gussets
Layout cut, and bind. Gussets are described as the wooden structure that holds the spars (cross boards) and the exterior of your teardrop hatch. Gussets are usually customized.
7. Create your hatch door framing
Once hatch door framing is created and gussets and spars are ready, attach them together, withdraw the top spar, and spread a sealant on all three sides of the openings of the gussets. Then return the spar to its place and attach it in place using wood screws on the gussets. The same process will be applied to the bottom of the spar and finally to the center of the spar.
8. Hatch door assembly
Measure, cut, add layers, install, and seal your hatch door’s outer skin. Make sure to varnish and polyurethane the exterior.
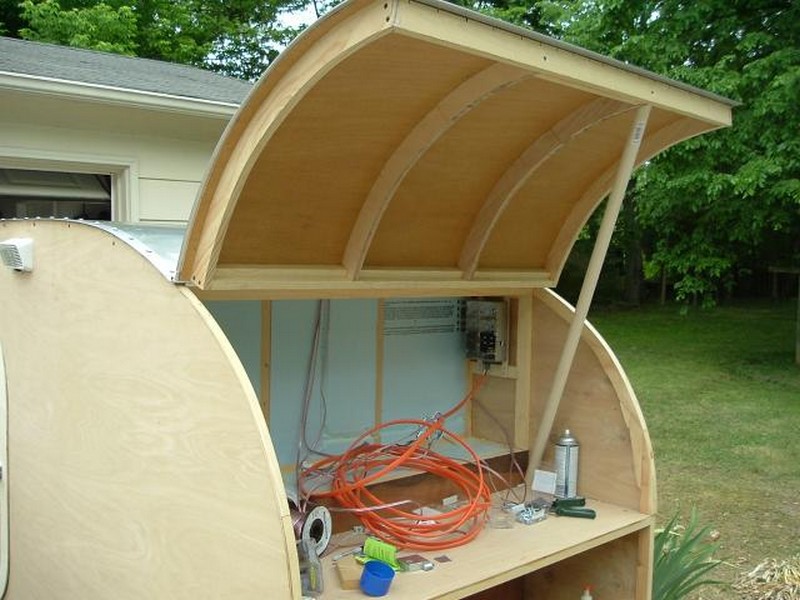
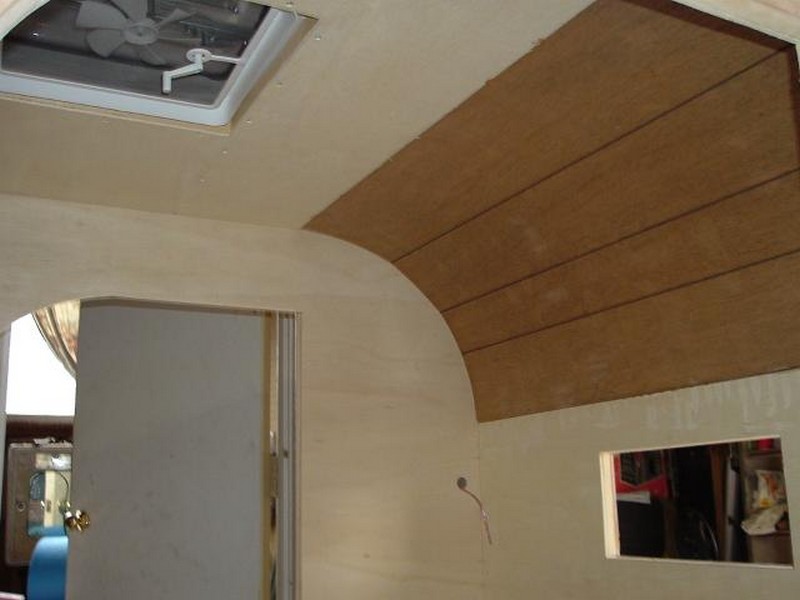
9. Roof assembly
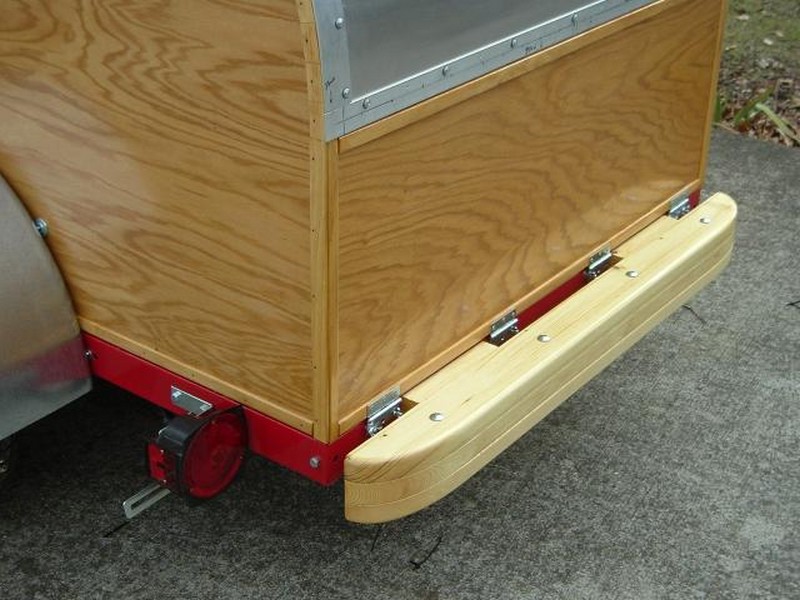
Similar to the hatch door assembly, except that we need to add a sheet metal layer for the outer skin, a hurricane hinge to install your hatch door to the stationary skin, and a “T-rail” (or “J-Rail”) along the roof to manage the water flow and drainage.
10. Wirings
Installation of the wirings for the lighting & living space.
11. Finalize the project
Finally, sealing and finishing the woodwork.
Click on any image to start the lightbox display. Use your Esc key to close the lightbox. You can also view the images as a slideshow if you prefer 😎


Thanks to Truck with a Heart for this great project. You can get more details about this project here…
You can get the detailed step-by-step for this project here…
If you liked this project, you will also like viewing these easy DIY projects…